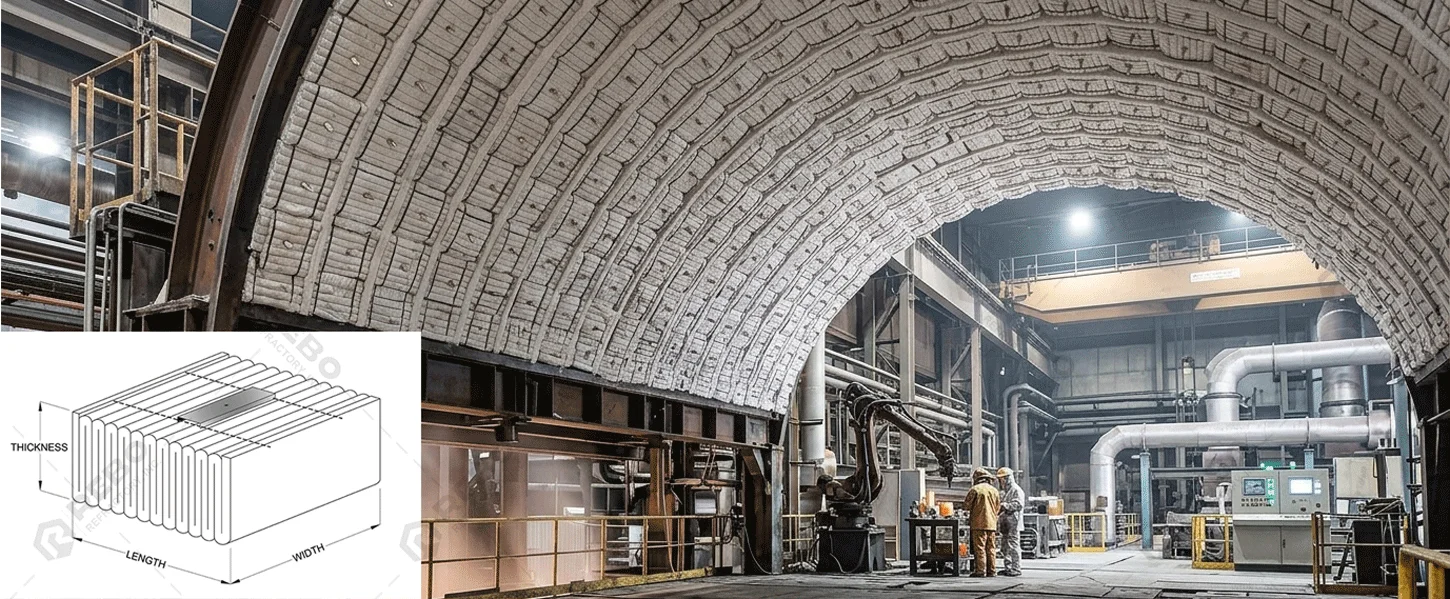
Preparation Before Installation of Ceramic Fiber Module
| Materials/Tools | Function |
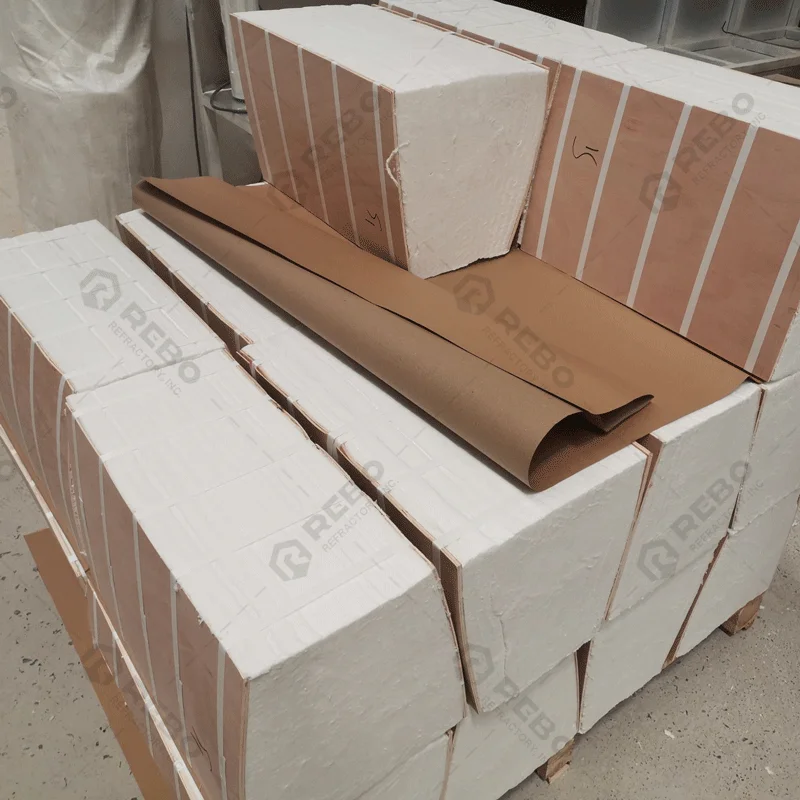
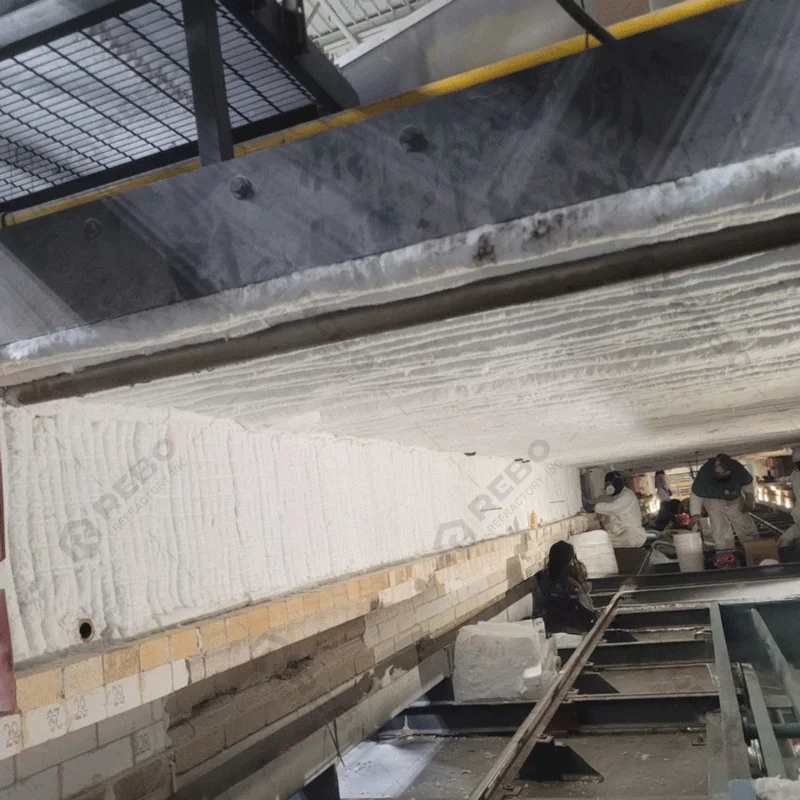
| Ceramic Fiber Module | Furnace Insulation Lining |
| Ceramic Fiber Blanket | For Use as Backing for Thicker Insulation Layers, Joint Filling… |
| Refractory Anchor | Securing Modules to the Furnace Shell. |
| Stainless Refractory Anchor | Based on Furnace Temperature. |
| Tools (Wrenches and Sockets) | Installation and Fastening of Anchors. |
| Protection Equipment (Protective Gloves, Safety Goggles, Respiratory…) | Safety Precautions During Installation. |
Related Insulation Products You May Need
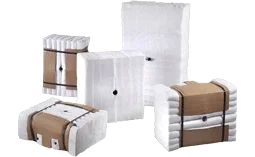
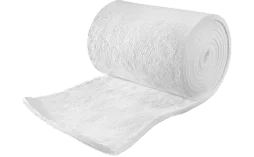
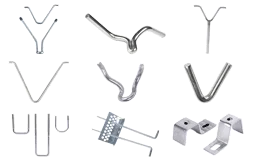
Pre-treatment for the Installation of Ceramic Fiber Module
- Surface Pre-treatment: Remove rust, oil, and oxide layers from the furnace shell to ensure a smooth surface.
- Marking: Based on the design drawings provided by REBO, mark reference grid lines on the furnace wall and indicate the welding points for each stud/anchor.
- Installing Backing Blanket: Lay a 25mm or 50mm thick backing blanket to prevent heat transfer from the furnace lining (required if the insulation layer exceeds 200mm in thickness).
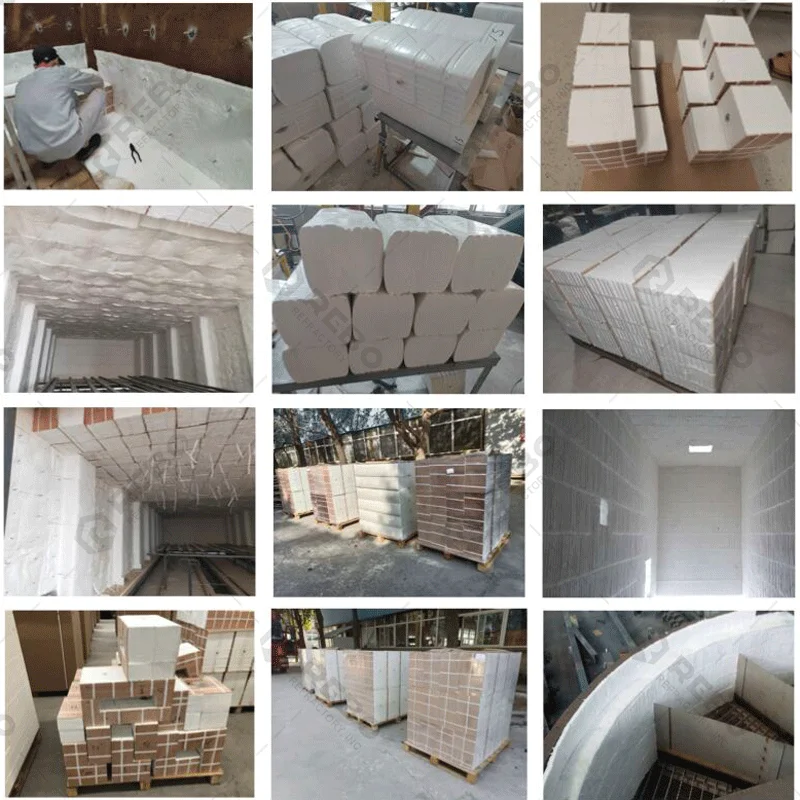
Installation Steps for Ceramic Fiber Module
Step 1. Anchor
Align the anchor studs with the marked welding points and weld them using a stud welder; after welding, strike them with a hand hammer to ensure they sit flush against the furnace wall and are securely attached.
Step 2. Securing the Backing Ceramic Fiber Blanket
Press the bottom layer of the ceramic fiber backing blanket onto the welded studs and temporarily secure it with quick-locking clips to prevent sagging.
Step 3. Installation of Ceramic Fiber Module
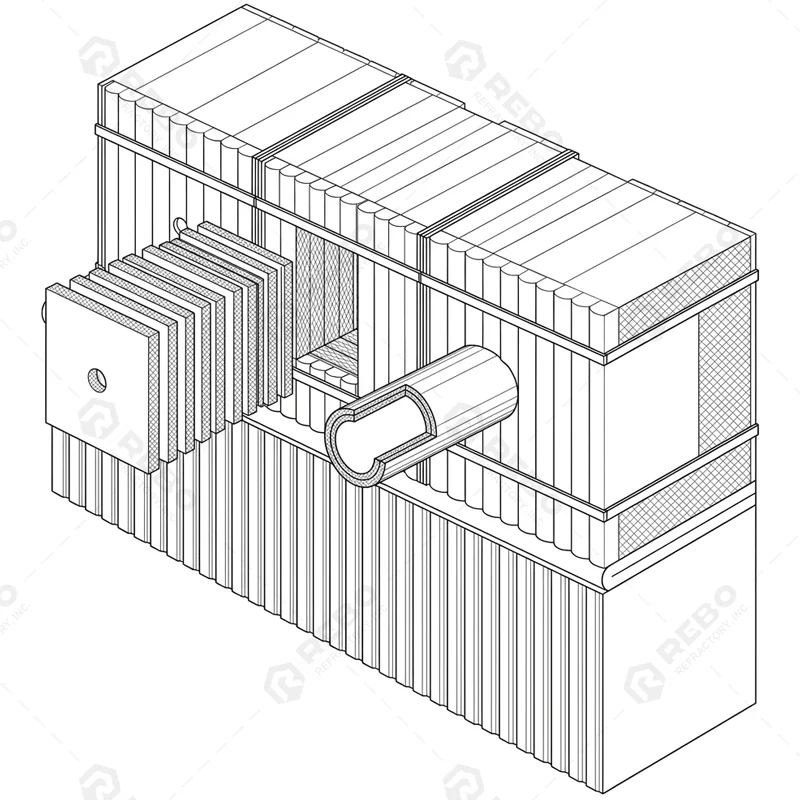
Align the central structural tube of the ceramic fiber module with the pre-welded anchor stud, screw on the locking nut, and tighten it securely onto the stud; the module should fit tightly against adjacent modules to avoid any gaps.
Step 4. Remove the packing bands
Ceramic fiber modules are generally fixed with 1-2 packing bands when they leave the factory. Notably, you should shorten the packing bands after fixing the ceramic fiber module. The natural expansion of ceramic fiber modules can automatically fill the gaps between adjacent modules.
Step 5. Inspection
Upon completion of installation, inspect the following aspects at a minimum:
- Ensure the installation of ceramic modules are secure;
- Check for any loose anchors;
- Check for noticeable gaps between modules; if any exist, fill the joints with ceramic fiber blanket, paper, or cloth to ensure a tight fit for the furnace lining;
- Verify the correct installation of burners, thermocouples, and observation ports;
- Check for any debris left inside the furnace, such as tools or metal scraps;
For the initial heat-up, follow the dry-out procedure provided by the furnace and fiber material suppliers, ensure proper ventilation, and adhere to all relevant safety requirements.
Application Areas for Ceramic Fiber Insulation Modules
- Steel reheating furnaces;
- Multi-stack and single-stack coil annealing furnaces
- Transfer ladle covers;
- Continuous annealing and coating line furnaces;
- Petrochemical: Reformer units, tubular pyrolysis heaters;
- Ceramics: Shuttle kilns, tunnel kilns, kiln cars;
- Utilities: Waste heat recovery units, combustion chambers, boiler ducts.